

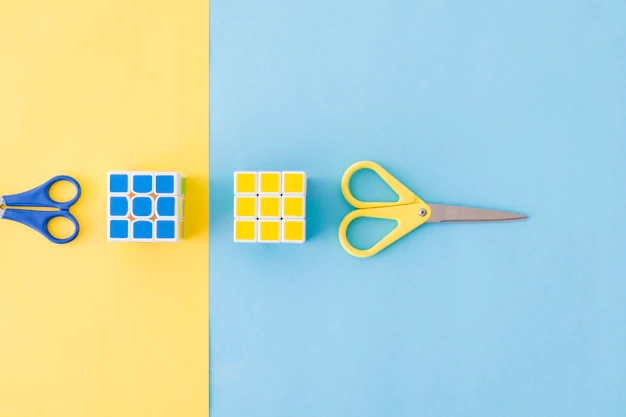
Introduction
If you’ve ever wanted to solve a Rubik’s Cube (or one of its many, many variants), the good news is that it’s not as hard as it seems. In fact, with a bit of practice and patience, anyone can learn to solve a Rubik’s cube in under an hour. Here are seven simple steps that will help you master the art of solving.
Orienting the top layer
The first step to solving a Rubik’s cube is to orient the top layer. To do this, you’ll need:
A pen/pencil or finger
A way to write down your final color
The best way I’ve found for doing this is by writing down whatever numbers are on each face of your cube after scrambling it and orienting the last layer (you can always come back later). Then, using those numbers as reference points when you write out all six sides’ colors in order from left-to-right so that they’re facing up again—and keeping them as close together as possible while still being readable!
Solving the middle layer
Once you’ve solved the top layer, it’s time to start working on solving the middle layer. This is actually where most people get stuck because there are a lot of steps involved in solving this part of their cube.
To begin, start with one side (the side with only one color). If you can’t solve this side yet, don’t worry! There are two ways to go about solving it: algorithms or trial-and-error. Algorithms will help guide you through each step while still giving some room for error; they’re generally good at examining all possible combinations of moves and finding solutions quickly but aren’t perfect solutions themselves because they rely heavily on luck (which might not always be present). Trial-and-error means memorizing what each piece looks like before attempting any moves—this method may take longer but allows for more flexibility since there won’t be as many variables involved when trying out different approaches based upon what happens during playtesting sessions later down line (which often happens after someone masters another set).
Creating the cross on the bottom layer
The next step is to create a cross on the bottom layer.
This can be done by finding a corner piece that is not in the bottom layer, and then turning it so it sits in front of another corner piece. Once you have done this, use your new cross to orient one of your corners so that they are sitting directly above each other (the same way you would do with an edge). Now solve!
Placing the final four edge pieces
The final four edge pieces are placed in the following order:
F2L.
PLL.
OLL (or ZBLL, if you’re feeling fancy). This is a tricky one because you need to know how to do it, but I will show you how! After those two, it’s just a matter of rotating them into place and setting them up with their corners pointing outwards so that they can be used later on during F3L or L3R turns.
Expanding upon the “F2L” method to place all 8 remaining corner pieces on the bottom layer
Turn your cube so that it is face down and place one of your fingers on each corner piece.
Rotate the puzzle until you find a spot where there are no other pieces touching it in any way (it should be completely free from any other centers or edges). This can be tricky because most people aren’t as good at identifying when their cube has been placed correctly! Don’t worry if this takes a few tries; it’s always better to try several different positions before settling on one that works well for you!
Now take your finger off each corner piece, then turn over your cube so that you are looking at its front face again. You should see two empty spots where those corners were previously sitting—this means they’ve been moved into their correct places! Congrats! You got all eight corners onto their respective layers without any trouble whatsoever 🙂
Finishing up with an OLL algorithm and a PLL algorithm
Now that you’ve solved your puzzle, it’s time to finalize it by applying an OLL algorithm and a PLL algorithm. The OLL stands for Orientation of the Last Layer while the PLL stands for Permutation of the Last Layer.
You’ll need two solver programs: one that can generate random moves, and another that can solve Rubik’s cubes using those random moves. Both should have options for solving Rubik’s Cubes in various orientations (i.e., clockwise vs counterclockwise).
Solve it!
Once you’ve solved the cube, it’s time to start solving other puzzles. The process of solving a rubik’s cube is similar to how we solve many other puzzles: we use algorithms that tell us where each piece should go and what direction they need to move in order for us to complete the task at hand.
There are many different approaches for solving this puzzle and some people prefer using physical methods over using software or algorithms alone – but this article will focus solely on computer programs like The Great Puzzle Solver (GPS) which allow users with no prior experience whatsoever access into learning more about this fascinating toy!
Conclusion
In summary, there are several methods you can use to solve a Rubik’s cube.
F2L method (aka “First Two Layers First” or “Full Face 2 Face”)
This method is by far the most common way to solve a Rubik’s cube but also one of the most difficult ones as well. It requires knowledge about how certain pieces fit together and how they work on an individual level before being able to solve any other colors! If you haven’t mastered this technique yet then don’t worry because we’ll show you exactly what steps need taken from start until finish in just under five minutes flat so even though it might seem intimidating initially…
Get started with our guide below which will walk through each step by step every step at every stage along with pictures illustrating each action throughout out entire process so feel free your success isn’t lost just yet!
We have also made a blog on solving the mastermorphix cube. This is also a complex cube but at the same time a very interesting one. To know more, follow our blogs.